Monday, March 30, 2015

Half the hull covered

Half the Hull is covered.


This is a lot of work each plank is held to the bulkheads with two nails, that need to be pre-drilled, and glued. I am writing another post to explain the planking process, but will give a general overview now. The idea of planking is to have the planks run horizontal across the entire distance of the ship. This of course becomes a problem because the bulkheads very in size. You have to measure the bulkheads, a seamstress tape works well, as you are measuring a curved surface.


Measure all the bulkheads, from the bulwark to the bottom of the keel, and write the number down on a sheet of paper. In my case the measurements were from front to back, I guess I should say, from the bow to the stern, 55mm, 75mm, 100mm, the next 4 were 105mm, then 100 and 100mm. Then measure the width of the plank, these are 5mm, approx., the very from 5.2 to 4.8, so five is the average. So, if you do the math you can see that 21 planks will fit the 4 largest frames, but getting them to fit into the 55mm frame is impossible. So you will have to tapper the planks or use drop planks, stealers, and wedges. Again, I am working on a complete post describing these processes.

Lets get back to the ship, as the post says I am about half done.


You can see in the picture above the front isn't closed, you have to cut that out anyway, so I wasn't worried about having them touch. You do have to be concerned about them lining them up.

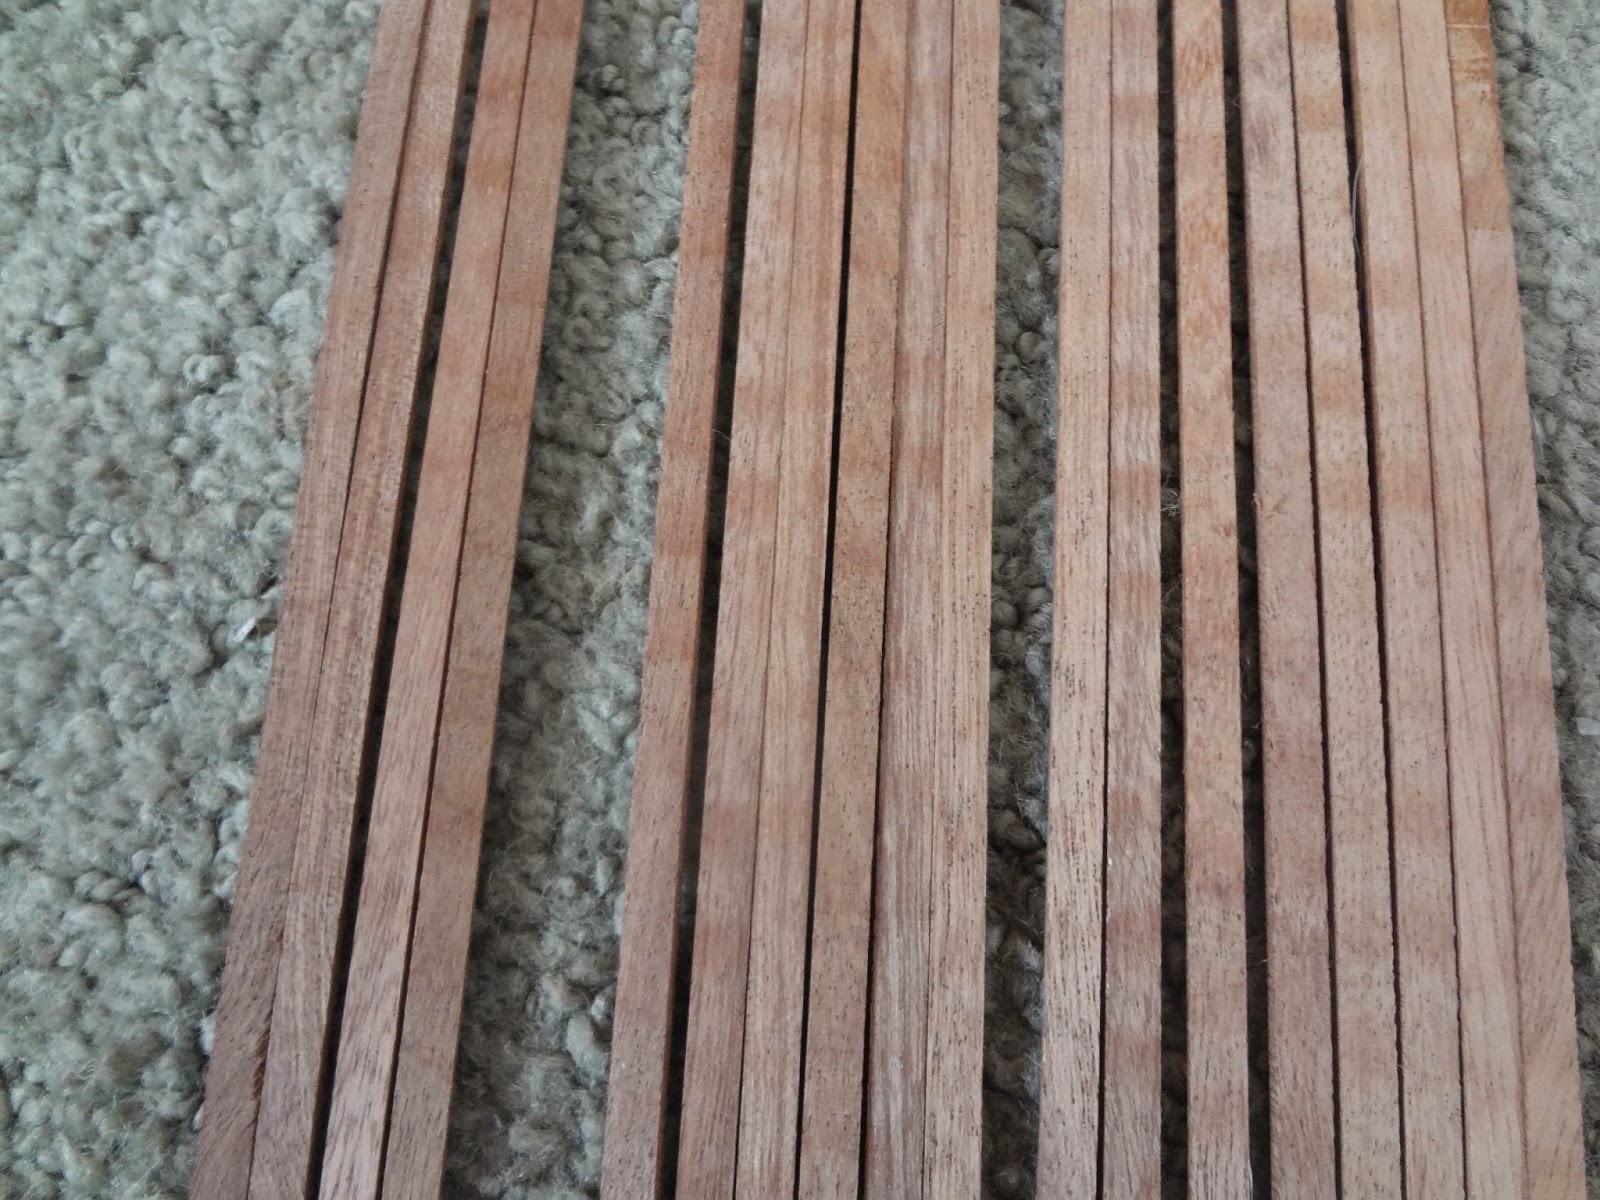
You have to really pick the wood you are using for the first 4-5 planks, make sure there are no knots in the wood, that is a major bend, and they snap easy.


You can see I write the length of the frame on it, and the tick marks for the width of the planks. I haven't started tapering the planks in the picture, but the next planks will be, a rule of thumb when tapering them is to not exceed 1/2 the width. So in my case no planks will be less the 2.5mm.

Here are a few more photo's of the ship so far.


You can see some of the nail heads cut off in this pic. still have to shape and sand will wait until the hull is complete.


Three of the cannon ports cut away. I think at this point, I will again put it off to the side and grab the instruction book. I need another break from this. I think I will do the railing for the stern, not really sure, anything but planking the hull.


Friday, March 27, 2015

Helmsman's Cabin

After working on the hull for the last 2-3 days, I started going crazy, a sure tell tale sign that it was time to move to something else. It's a good idea, for me anyway, to take a few hours away, to clear my mind. I start to take short cuts, and get sloppy.....

I like to take a break, by doing some of the smaller things you need to get done anyway. There's a ton of it. Things like the Helmsman's cabin......

Kind of an easy little 4 sided cabin, with a slight curve in the roof.


The main structure is made of 5 parts prefab plywood.


Got to take your time gluing the sides, as the front to the back tapers by approx. 1.5cm., you want to try to maintain that angle.


I had to steam the roof, to get the bend required to fit the sides.


After sanding to clean up the edges you are ready to cover it.


You will use the .6 x 5mm Mahogany, we used to cover the bulkheads, and a 2 x 2mm stick of Ramin


I did the front and the back first. Covering the hatchway.


Then the two sides, I wanted the overlap to be on the front, when the ship is displayed, you wont be able to see the darker edge grain.


After the glue dries, I put the roof on. I drew a center line, then worked the covering to the edges.


Once the roof and side are completely dried you can clean the edges with 180 grit sandpaper. This covering is so thin you have to really take your time or it will crack.


Then I opened out the hatchway, with a fine tooth jewelers file.

Now that the sides are square, you can put the 2 x 2mm Ramin around the roof. They also had to get bent, so in the water they go.


Then I noticed that you could see some of the white plywood on the bottom run of the hatchway. This step could be left out, but I think small details like this make the difference in a well constructed model.

I cut a small piece of the Mahogany....


Then glued it into place.


Cut and sand it to shape.


After the front and back are glued in place, I did the sides.

Sanded it to fit.


Now all that's is left to do is finish sanding with 320 grit, and apply the finish. Off to the side it goes as you don't glue it into place until you get the hull finished.


This will give you an idea of where it goes and how it will look when on the ship.


Now, with a renewed interested I will start back on planking the hull.


Wednesday, March 25, 2015

Planking the Hull

I have looked at this long enough now, I have to make a decision on how to plank this. The planes and photos in the instruction look as if they started at the bottom of the bulwark and worked down. They put 5 or 6 planks down, not tapering any of them. Working down the ship, I don't think I will do that.

I will start by sorting the planks, by width, and shade of the mahogany, you can see the different shades, I like to match them up, as I don't want dark, light, dark etc,


I decided to put one strip, running down the bottom of the bulwarks, fitting the one above it to be flush with the forward deck.


So the bottom plank was installed while I positioned the upper plank flush to the deck, I didn't want half a plank to run over the forward deck.


Now just gluing and nailing the planks down the ship.


I did the exact same thing on the other side, I didn't think we needed photos of that's, just remember that what you do to one side you do the same thing to the other.

Now I didn't follow the instruction for the next steps, they want you to work down, I went up. These plywood bulwarks seem fragile to me, and I know I will have to man handle this ship to plank the bottom section. I want to cover them before I break them.


First two done......

You have to leave the heads of the nails exposed, you need to cut them off and sand with a file.


A few cut off, still needs filed. This is new to me, cutting them off. Generally they are made of brass, and soft enough to sand down with sand paper. I guess they tried to save some money by giving you metal nails instead of brass..... Can't believe it made that much difference, but whatever.


This is where we stand with the build at this point, I like the way the two lighter shades of mahogany look against the darker ones, remember the other side looks just like this side.


Will keep planking and report back, this takes sometime, so might not have any posts until I start the bottom half.


Tuesday, March 24, 2015

Bending Wood for Hull

Will start this post by saying there are many ways to plank one of these ships. This is the way I do it, and find it easy for me. This ship really isn't going to be a problem, I don't think. I will go into some detail about planking a hull, as most people trying one of these ship find that this is the hardest part of the process, that and the rigging of the sails. The way I look at it ,very small percentage of the population that will look at your finished ship and say, or even know if it's planked correctly. I would think that most people building one, want there finished ship to look a realistic as possible. So the way we will plank this is just that way, as realistically as possible. If you just want to cover it up, and fill in the gaps, then sand it, knock yourself out, it won't look like the real ship, but will get the job done.
First thing I do, if you remember is to sand the edges down so the planks lay flat on the bulkheads, this will help form the planks to the hull, and give you more surface space to glue the planks.


You can see in this photo, how the plank lays on the bulkhead before you sand down the edge. The plank isn't making contact to the bulkhead, no room to glue or nail the plank. You really can't take much off of it, as you will lose the shape of the hull. I will remove just enough material so I will have  a matting surface to nail and glue it.

You can see in the picture above the almost 90 degree bend you have to make, this is really the only bend you have make. So how do you make that bend ?

This is one way to do....

Soak the wood in hot water for 15 min of so.


The wood has to be wet to allow you to bend it, once you bend it, it will dry in the bent possession, I always over bend it slightly. To make bending easier they make a couple tools you can use. One tool uses an iron, and a jig. I use a simple tool, cost about 10 dollars that puts a small cut in the wood, allowing the wood to bend.


You keep working the tool up and down the plank to get the desired bend.


You put the blade side to the inside of the plank, the side that will be glued and nailed to the bulkhead. So you won't see the small cuts.


If it dries out put it back in the water, the key is to keep it wet.


That's basically it.......

Next post will get into nailing and gluing the planks.


Sunday, March 22, 2015

Deck Complete / Start Hull

I put a poll in the side menu, please take a second to enter an answer, 1 question, takes about 5 seconds to do, thanks.......

Had a few question asked about the tools needed to build the ship. I guess the answer is, you can get as silly as you like when buying your tools, or simply get what you need to do the job. Everything I do is done by hand, the sanding, cutting, drilling etc. the only electric tool I might use is a dremel. I will make a post regarding the tools I use, and go into more detail later. Let get caught up on the build to this point its been a few days.

Finished planking the stern with the 2 x 5 mm Mahogany.


Working off the center cutting 45 degree, gluing and nailing each plank. I will leave the nail heads exposed and cut the nail heads off before sanding.


After sanding the edges install the bulwarks, number 28, on both sides of the hull.


Nailed and glued.


One side is done, these 45 degree cuts, took about 8 hours to complete. Still have to finish cutting 3 more holes in it.


Will finish the other side and the start planking the hull. Well back to work, wife is working, SU isn't allowed to play in the tournament, no reason to watch that, so ship building day.