The San Francisco II

Stock photo of the finished ship from Artesania Latina's site. The kit was purchased March 1, 2015 and started March 5. I have built 7 of these skill level 4 kits from this company, this doesn't mean that I am an expert builder, just someone who has built 7 ships in this skill level. This will be the first time with this model. I will try to update it as soon as I can. However, with the amount of time it takes to build a ship like this, and keep up with the blog, you will understand if I miss a day.........
Thanks For Following Along
Dave
Step one fit the masthead rigging for the fore, main, and mizzen mast. Simply glue parts 2 and 3 to the false keel where the masts will stand. Parts 2, two of them, one for the fore and one for the main. Part 3 will be glued to the rear, for the mizzen mast.


Then I took all the bulkhead frames 4 - 12, marked the center lines, then transferred that line to the top of the bulkheads. This step isn't in the instructions, but seemed like a logical step for alignment to the false keel.


Fit the frames 7 and 8 into their corresponding slots on the false keel. Fit the waist deck 13 into place on frames 6 and 9. Then fit this assembly in place on the previously fitted frames 7 and 8. Nothing is glued at this point.

Very important at this point to keep all the bulkheads square to the false keel. The next step in the instructions is to install all remaining frames 4,5,10,11 and 12. Still no glue.

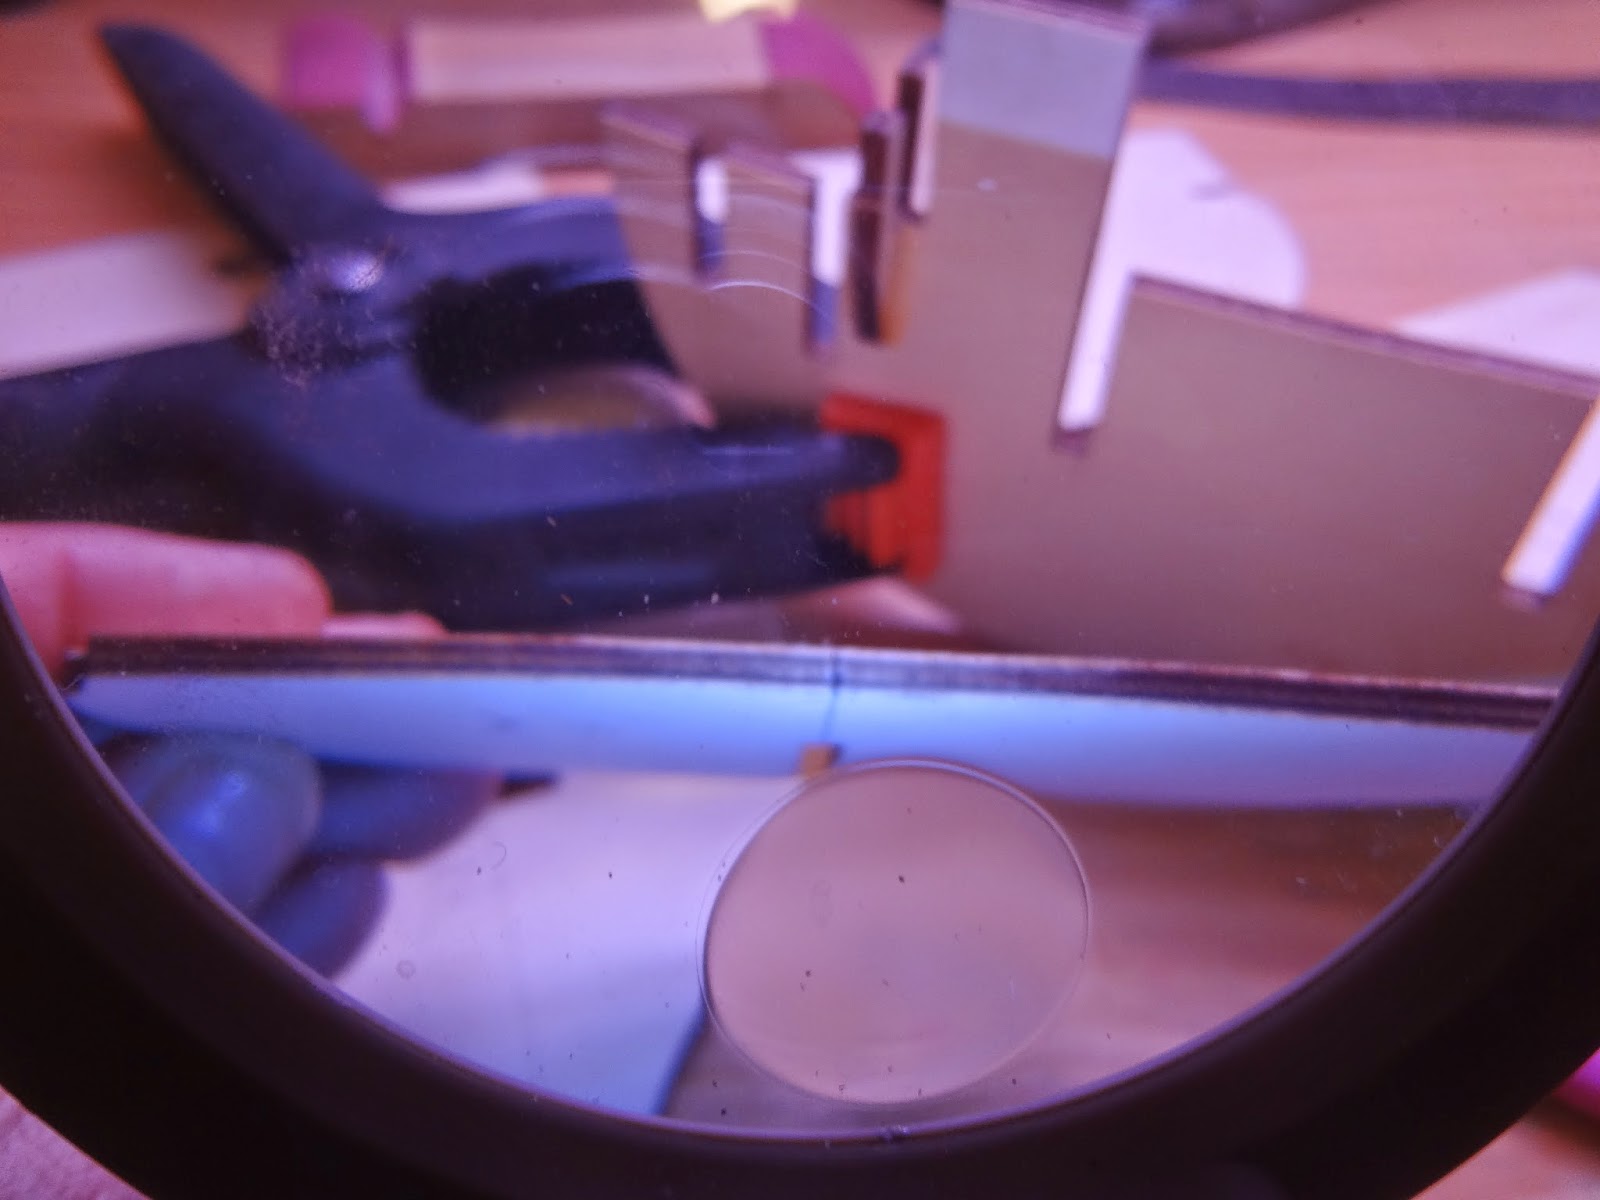
I will take a second to say that all the parts you see are laser cut prefab plywood, I started the blog after removing the contents of the box. Still no glue note the paper clips holding the bulkheads into place. This will end the first day of what is called dry fitting. Tomorrow we will try and finish the frames and waist decks.
No comments:
Post a Comment
Thanks for the message